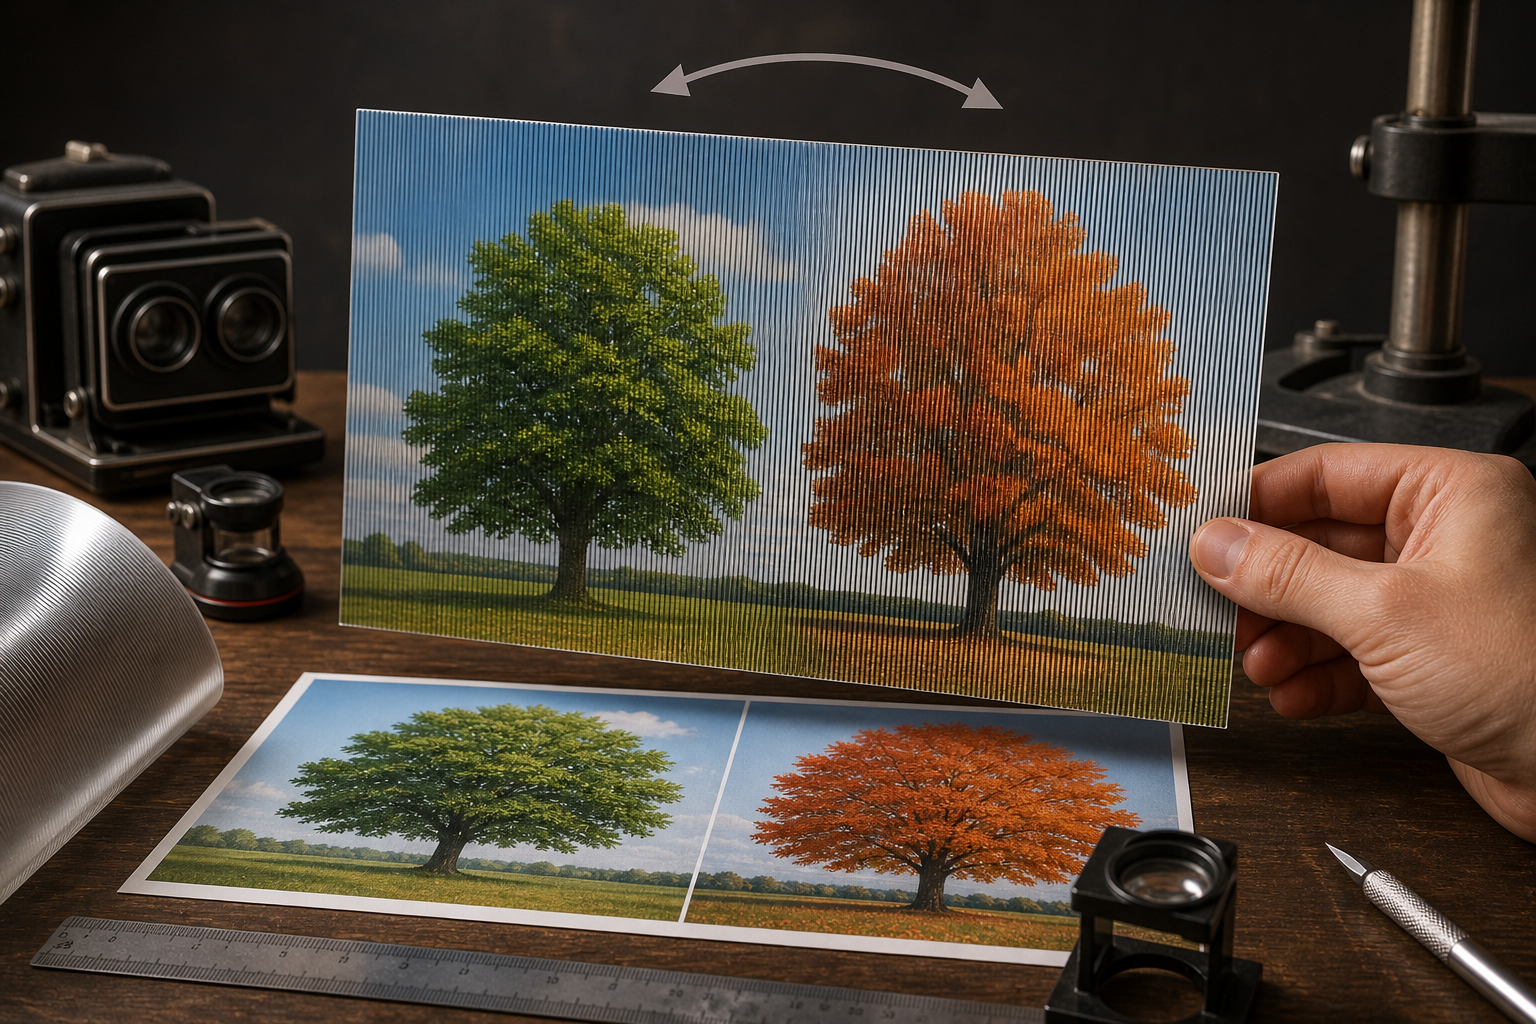
A flip-type lenticular image displays two distinct frames depending on the viewing angle. When the print is tilted, the first image disappears and is replaced by the second. This effect can be used to change text, color, facial expression, the state of an object, or an entire scene.
Although a two-frame flip is one of the simplest lenticular effects, it cannot be created by simply overlaying two illustrations. The images must be prepared on a shared canvas, matched to a specific lens, interlaced, and then precisely registered with its lenticules. An error at any of these stages can cause ghosting, banding, or the complete loss of the switching effect.
How does a two-frame flip work?
A flip, also known as a change effect, consists of independent images viewed from different angles. In the two-frame version, the lens is intended to direct the strips of the first frame toward the viewer and, after the viewing angle changes, the strips of the second.
A flip should not be confused with smooth animation. Its purpose is to provide a clear transition between two states, not to present multiple successive phases of movement. For a beginner, this means simpler input material: only two completed frames are required. However, they must still be designed as a pair.
The easiest way to assess the intended effect is to answer one question before starting: what exactly should change when the print is tilted? If the answer is clear, it is easier to maintain a consistent composition and limit unintended differences.
Step 1: Choose two clearly distinct states
For an initial test, it is worth preparing two images that differ clearly in their main element but have similar backgrounds, tonal ranges, and contrast. Similarity in these characteristics reduces the risk that remnants of the inactive frame will be particularly visible.
This phenomenon is known as ghosting. It consists of parts of an image showing through when they should be hidden at a given angle. Even with correctly produced interlacing, high-contrast elements from one frame may draw attention if they appear against a very different background in the other.
This does not mean that both images must look almost identical. After all, a flip is intended to show a change. In practice, however, it is beneficial to separate fixed and changing features. The background, frame, or main compositional layout can remain the same, while the central motif changes color, shape, or content.
Step 2: Prepare a shared canvas
Both frames should have identical canvas dimensions, resolution, and cropping. If the first file has different proportions or shows a different image area than the second, interlacing will not correct this inconsistency. On the contrary, when the print is tilted, the composition may appear to shift or jump.
A fixed element present in both frames provides a useful reference point. It may be an object, part of the background, or another part of the composition whose position should not change. It should be placed in exactly the same position in both images.
When preparing the pair, pay particular attention to:
- identical canvas sizes,
- the same file resolution,
- matching proportions and cropping,
- fixed positions for elements that do not participate in the change,
- similar background, tonal range, and contrast.
This is the design stage, not yet the lenticular stage. The frames should also look correct as two ordinary images. Only after they are complete should you proceed to creating the interlaced file.
Step 3: Determine the lens parameters before interlacing
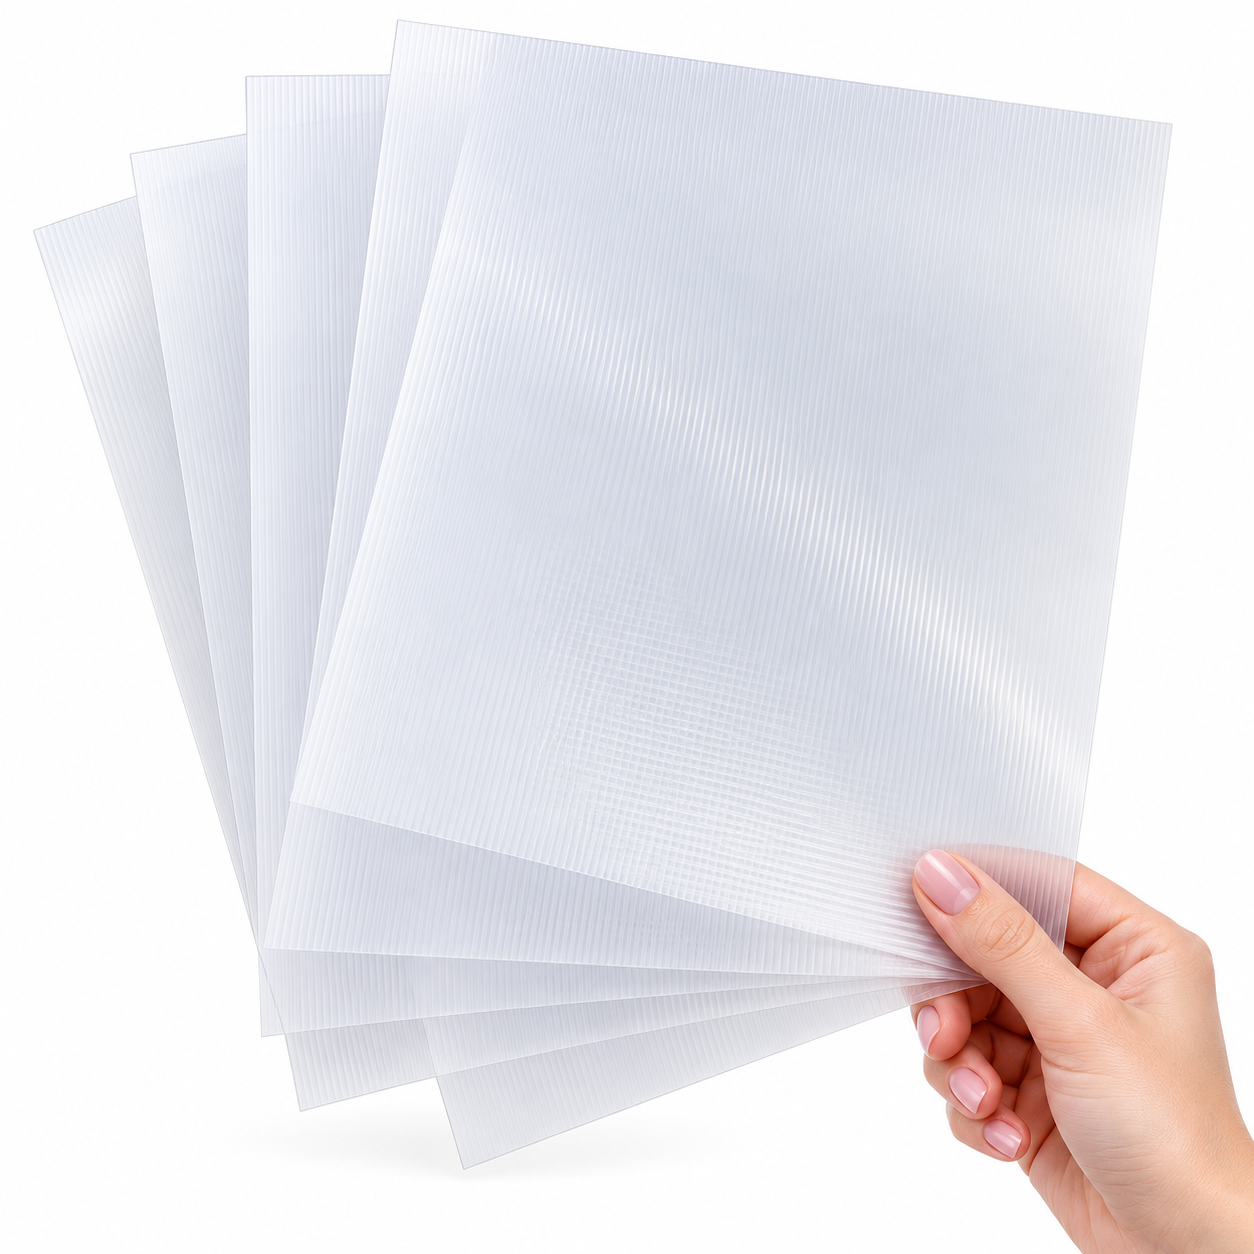
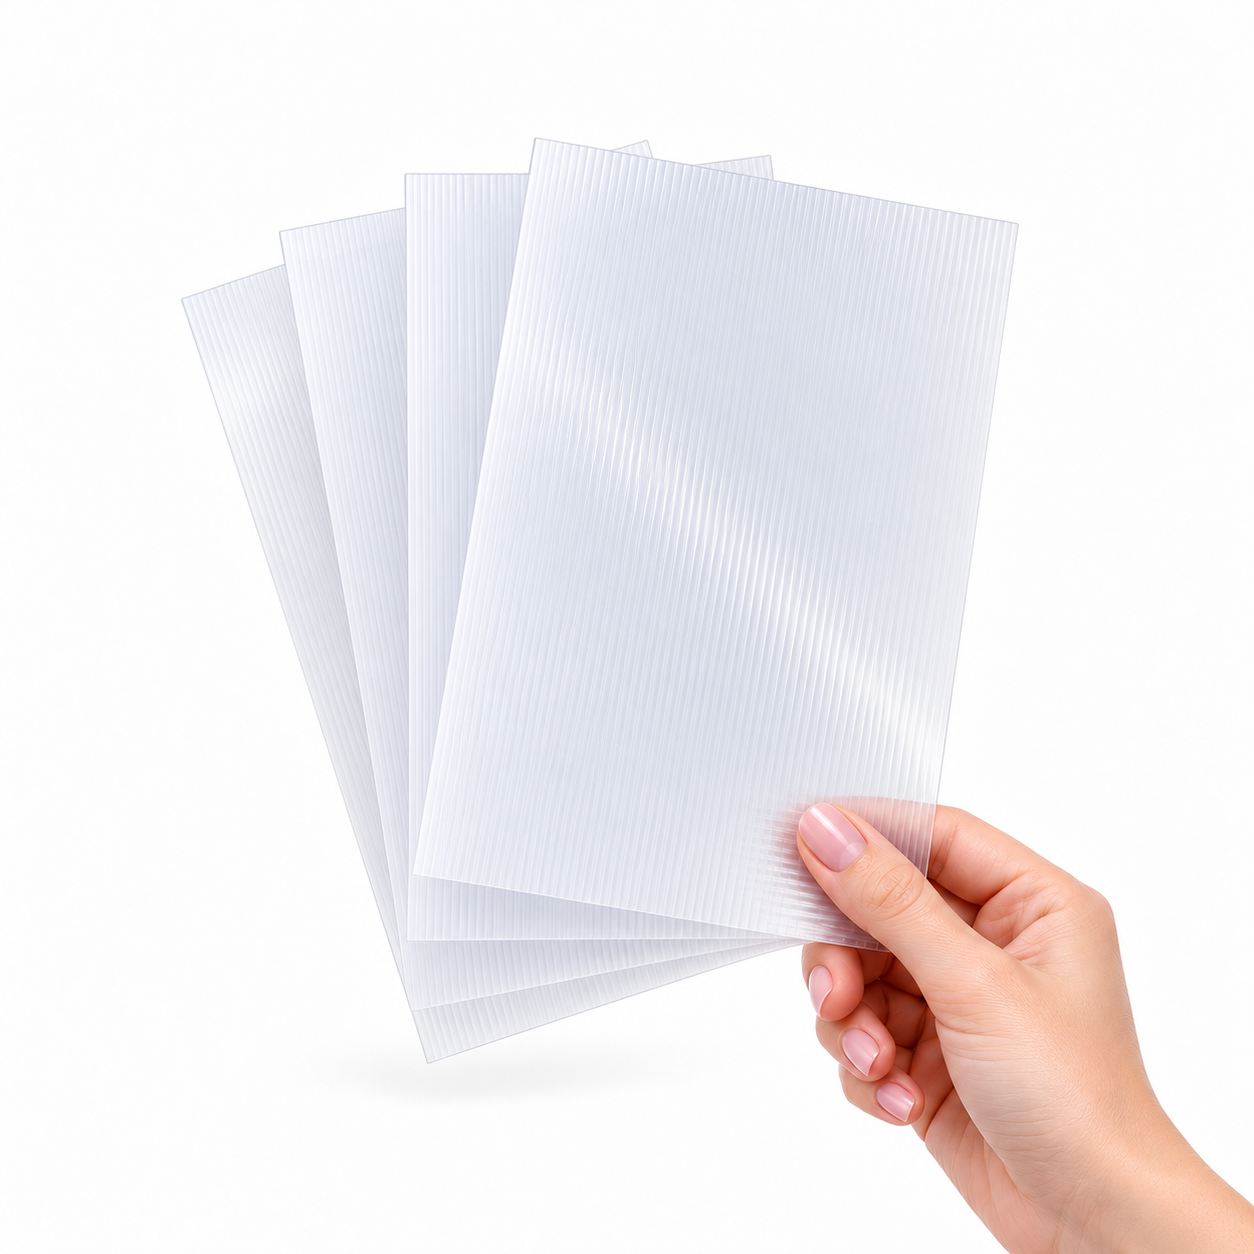
One of the basic parameters of a lenticular sheet is LPI, meaning the number of lenses per inch. This information must be known before interlacing because it affects the width and arrangement of the strips that make up the resulting image.
You should therefore not create an arbitrary interlace first and only then look for a matching lens. The file should be prepared for the material with which it will actually be combined. A mismatch between the image pitch and the lens can lead to banding, ghosting, or a situation in which the frames do not switch correctly.
For a production order, it is worth confirming with the provider not only the LPI but also the required format and parameters of the supplied files. One specification described for a small two-frame flip requires 300 dpi at final size and a 3 mm bleed. However, this is not a universal standard for every material and printing company. Such values should be treated solely as an example of one provider’s requirements.
Why is bleed not part of the effect itself?
Print bleed is the area of the artwork extending beyond the intended cutting line. It does not directly determine how the images switch, but it may be required during production. Its size and preparation method should follow the printing company’s specifications rather than a general assumption applying to all lenticular prints.
Step 4: Interlace the two frames
Interlacing is the process of creating a single file from alternating, very thin strips taken from both images. In simplified terms, some strips belong to frame A and the remaining strips to frame B. The lens then separates this information depending on the viewing direction.
This is why simply adjusting layer transparency or placing two complete images on top of each other does not produce a lenticular effect. Both frames must be spatially divided according to a pitch matching the lens.
After interlacing, the file may look like a mixture of strips on screen. This is not yet a reliable preview of the finished result. The final separation of the frames depends on how the print works with the physical structure of the lens.
At this stage, the finished file should not be resized without recalculating the interlacing. Changing the scale also changes the strip width and may therefore cause it to no longer match the established lens pitch.
Step 5: Ensure proper registration with the lens
Registration means precisely aligning the printed strips with the lenticules of the lenticular lens. Correct interlacing is necessary, but it is not sufficient on its own. If the lens is shifted relative to the image, parts of both frames may reach the viewer simultaneously.
Even a slight shift worsens image separation. As a result, the flip may work unevenly: one frame may be clear and the other contaminated, or one state may appear in part of the surface while a different state appears elsewhere.
It is therefore useful to distinguish between two types of errors. If the strips have an incorrect pitch, the problem lies in matching the interlacing to the lens. If the pitch is correct but the print and lens are shifted relative to each other, the problem concerns registration. Both cases may look similar, but they arise at different stages of the process.
See for yourself: Make a proof before printing the full run
The most reliable test is a physical proof produced with the intended lens. It should be viewed while being tilted, under actual lighting conditions, and from the direction from which the finished project will usually be observed.
During the test, check the following in order:
- whether both frames appear at different angles,
- whether each is clear and separated as well as possible,
- whether shared elements remain in the same position,
- whether the same image state is visible across the entire surface,
- whether there is any pronounced show-through of contrasting elements,
- whether the effect works consistently when the proof is tilted normally.
If the result is unsatisfactory, do not proceed immediately with the full print run. The proof helps determine whether the frames themselves, the interlacing parameters, or the alignment of the print with the lens needs to be corrected.
The most common causes of an unsuccessful flip
Mismatched cropping
If shared elements change position between frames, the entire project may appear to jump. The solution is to prepare both images on the same canvas and align them to a fixed reference point.
Excessive differences in background and tonal range
Frames with strongly contrasting characteristics can accentuate ghosting. This is not merely an aesthetic problem: remnants of the second image are easier to notice when they appear in an area with completely different brightness or visual characteristics.
Interlacing without knowing the LPI
An interlace created without being matched to a specific lens carries the risk of an incorrect pitch. Simply describing a file as “lenticular” does not guarantee compatibility with any lenticular sheet.
Skipping the physical proof
An on-screen preview will not reveal every problem with the lens and registration. Only a physical proof makes it possible to assess the actual switching effect, image separation, and the influence of lighting.
Minimum workflow for a first project
The entire process can be arranged into a short sequence:
- plan a simple, unambiguous change between two states,
- prepare two completed images with identical dimensions and cropping,
- align shared elements to a fixed reference point,
- limit unnecessary differences in background, tonal range, and contrast,
- determine the intended lens and its LPI,
- check the provider’s requirements regarding resolution, bleed, and format,
- create interlacing matched to the lens,
- precisely register the interlace with the lenticules,
- evaluate a physical proof before producing the full print run.
Summary
A good two-frame flip begins not with interlacing but with a properly designed pair of images. A matching canvas, a shared reference point, and control over the background and contrast help reduce problems visible when the print is tilted.
Only the next stage connects the project to a specific lenticular material. Knowing the LPI makes it possible to prepare the strips correctly, while precise registration allows the lens to separate them. The final check remains the physical proof. It shows whether the two frames prepared on screen actually create a clean and clear flip.