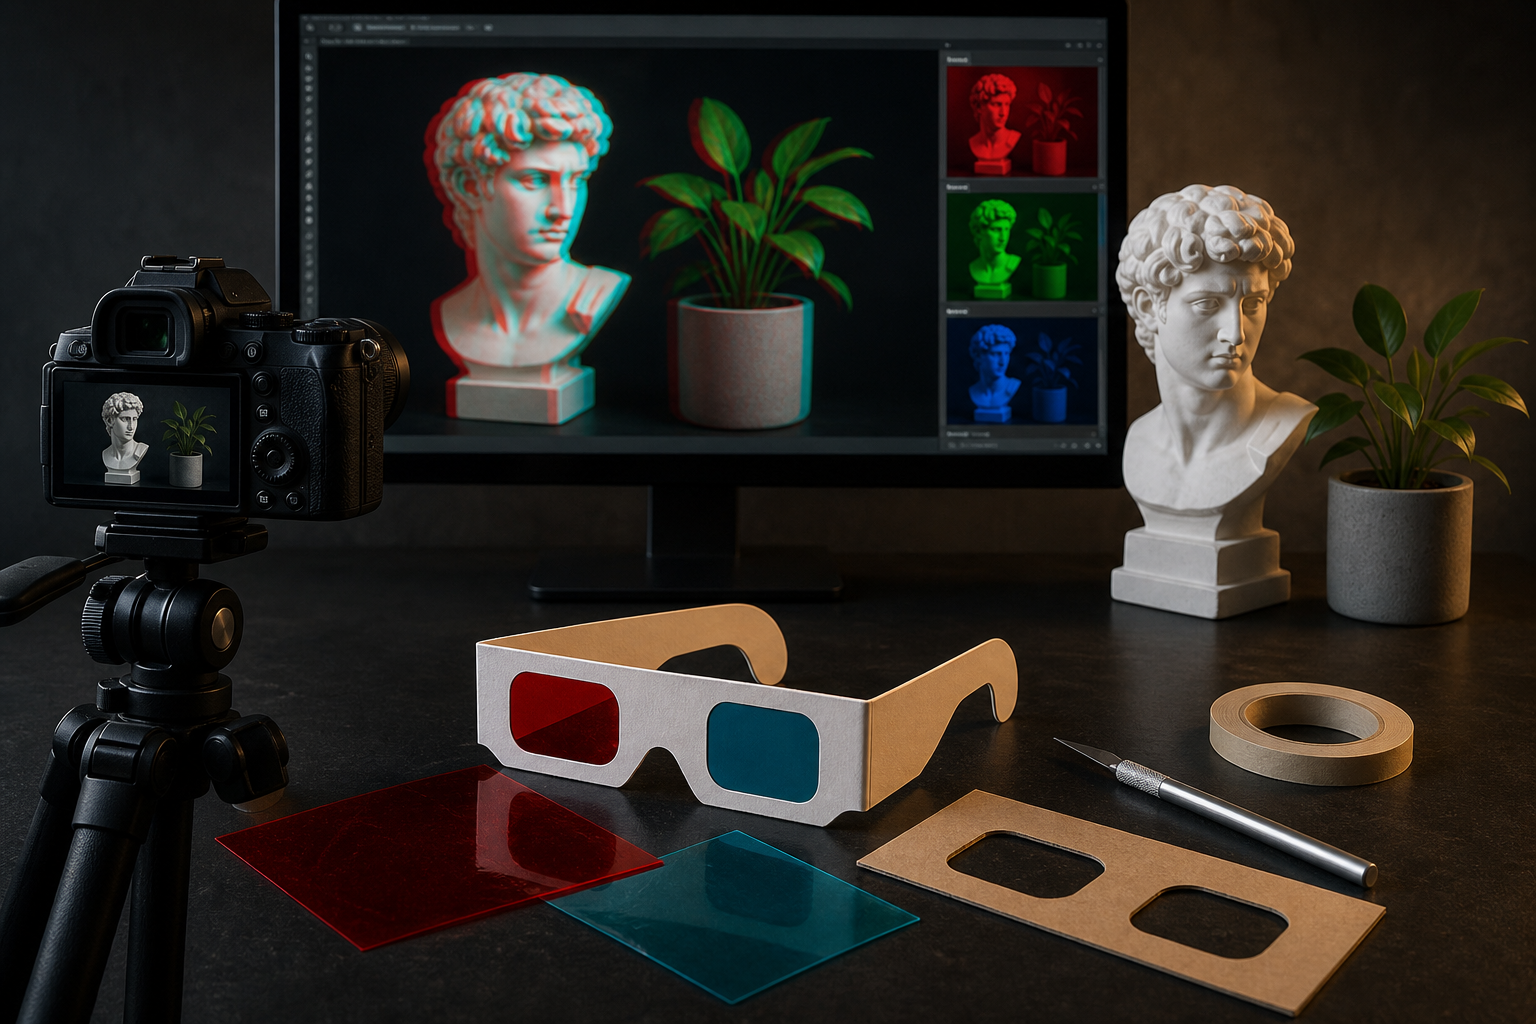
A red–cyan anaglyph is one of the most accessible methods of presenting a stereoscopic image. It requires neither a special display nor two projectors: two perspectives are stored in the color channels of a single image, while glasses with red and cyan filters separate them between the eyes.
A home experiment can be divided into three stages. First, prepare the glasses, then photograph the scene from two slightly offset positions, and finally combine the red channel of the left photograph with the green and blue channels of the right one. Although the rule itself is simple, the quality of the result also depends on the scene remaining stationary, alignment of the shots, and the compatibility of the image colors with the properties of the filters.
What will you need?
For a basic experiment, you will need:
- a cardboard frame with eye openings,
- a piece of transparent red film or acetate,
- a piece of transparent cyan film or acetate,
- material for attaching the filters to the cardboard,
- one camera or camera phone,
- an image editor that supports layers and RGB channels.
RGB stands for the three components of a digital image: red, green, and blue. In this model, cyan is represented by a combination of the green and blue channels. This is why a classic red–cyan anaglyph can store the left perspective in the red channel and the right perspective in the other two channels.
Step 1: Make the anaglyph glasses
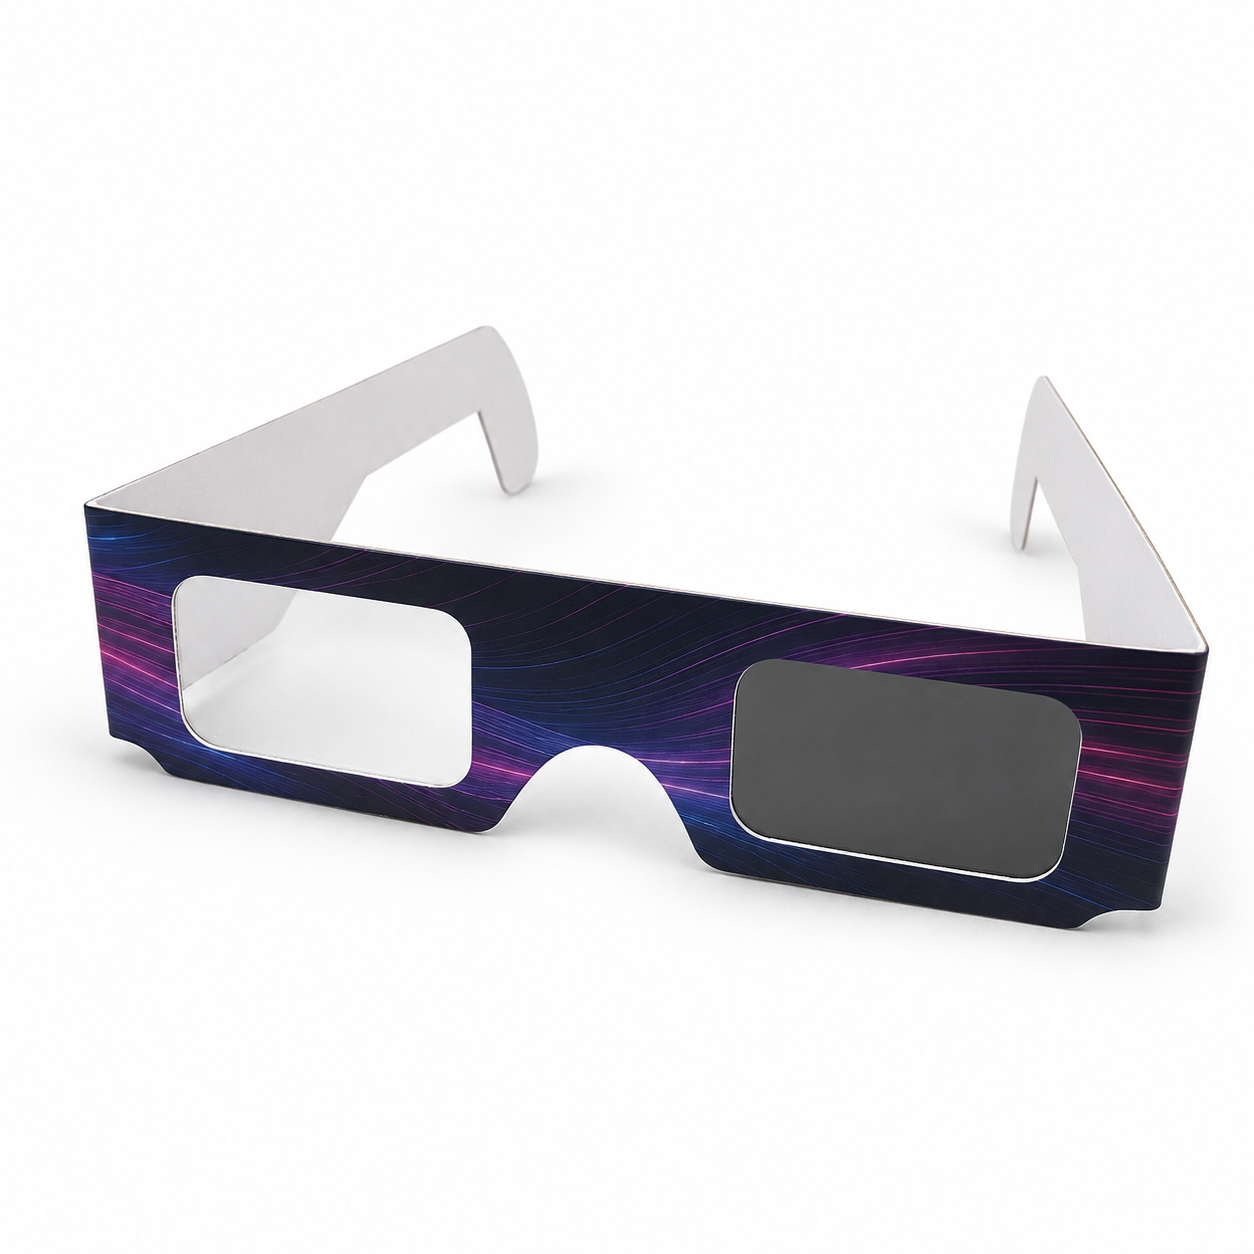
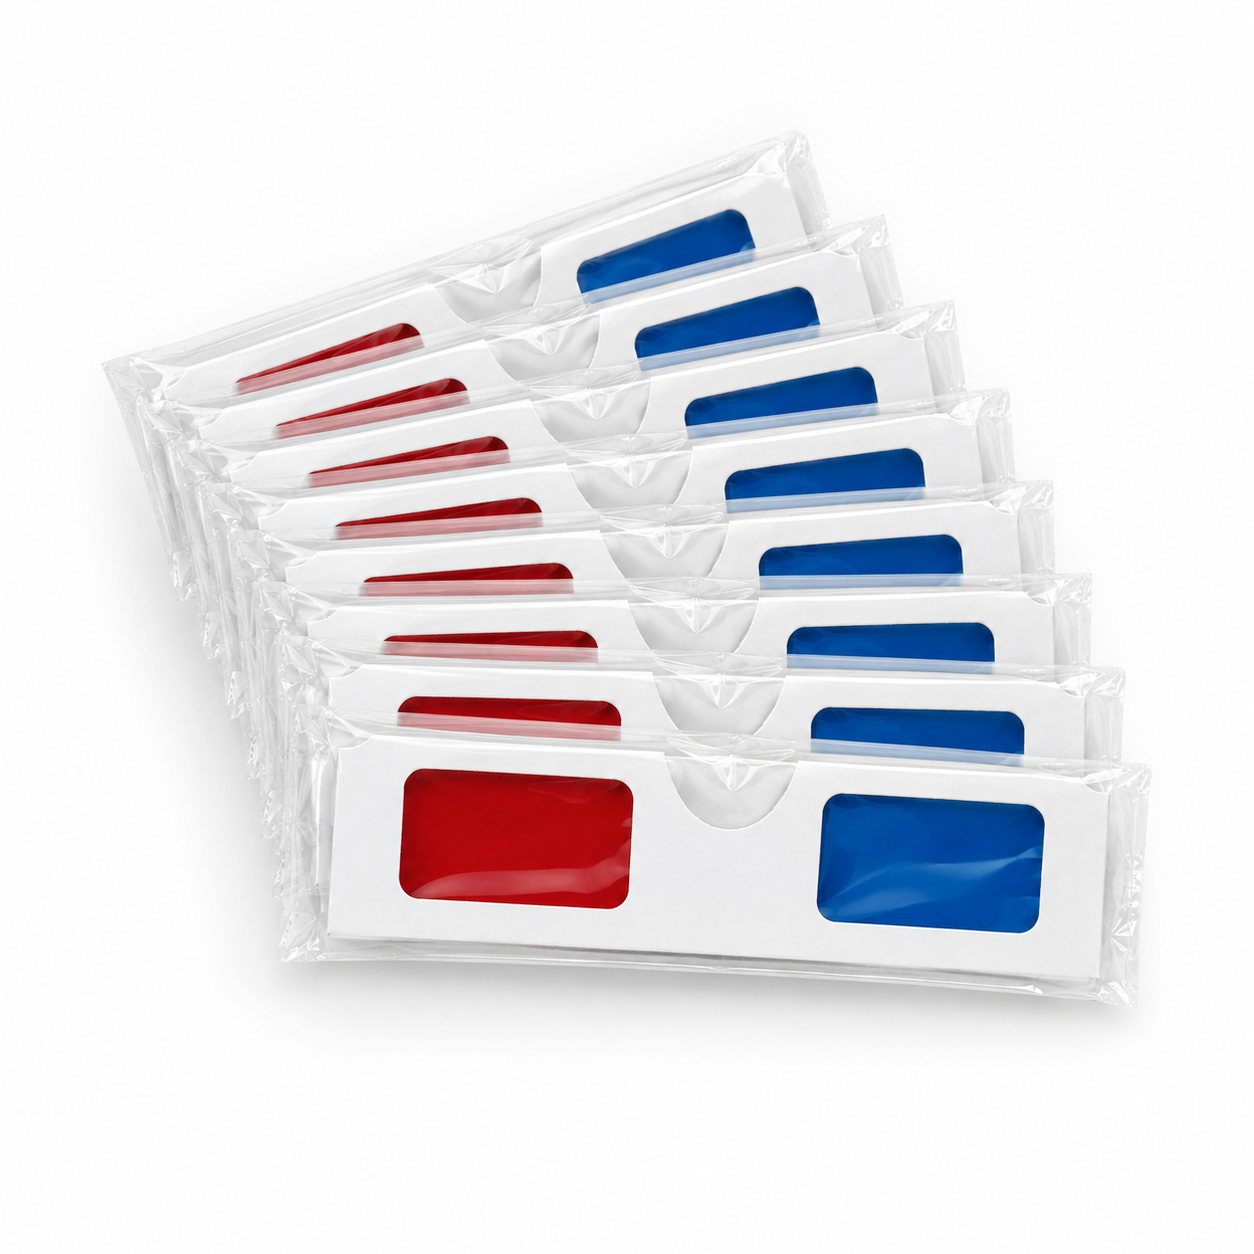
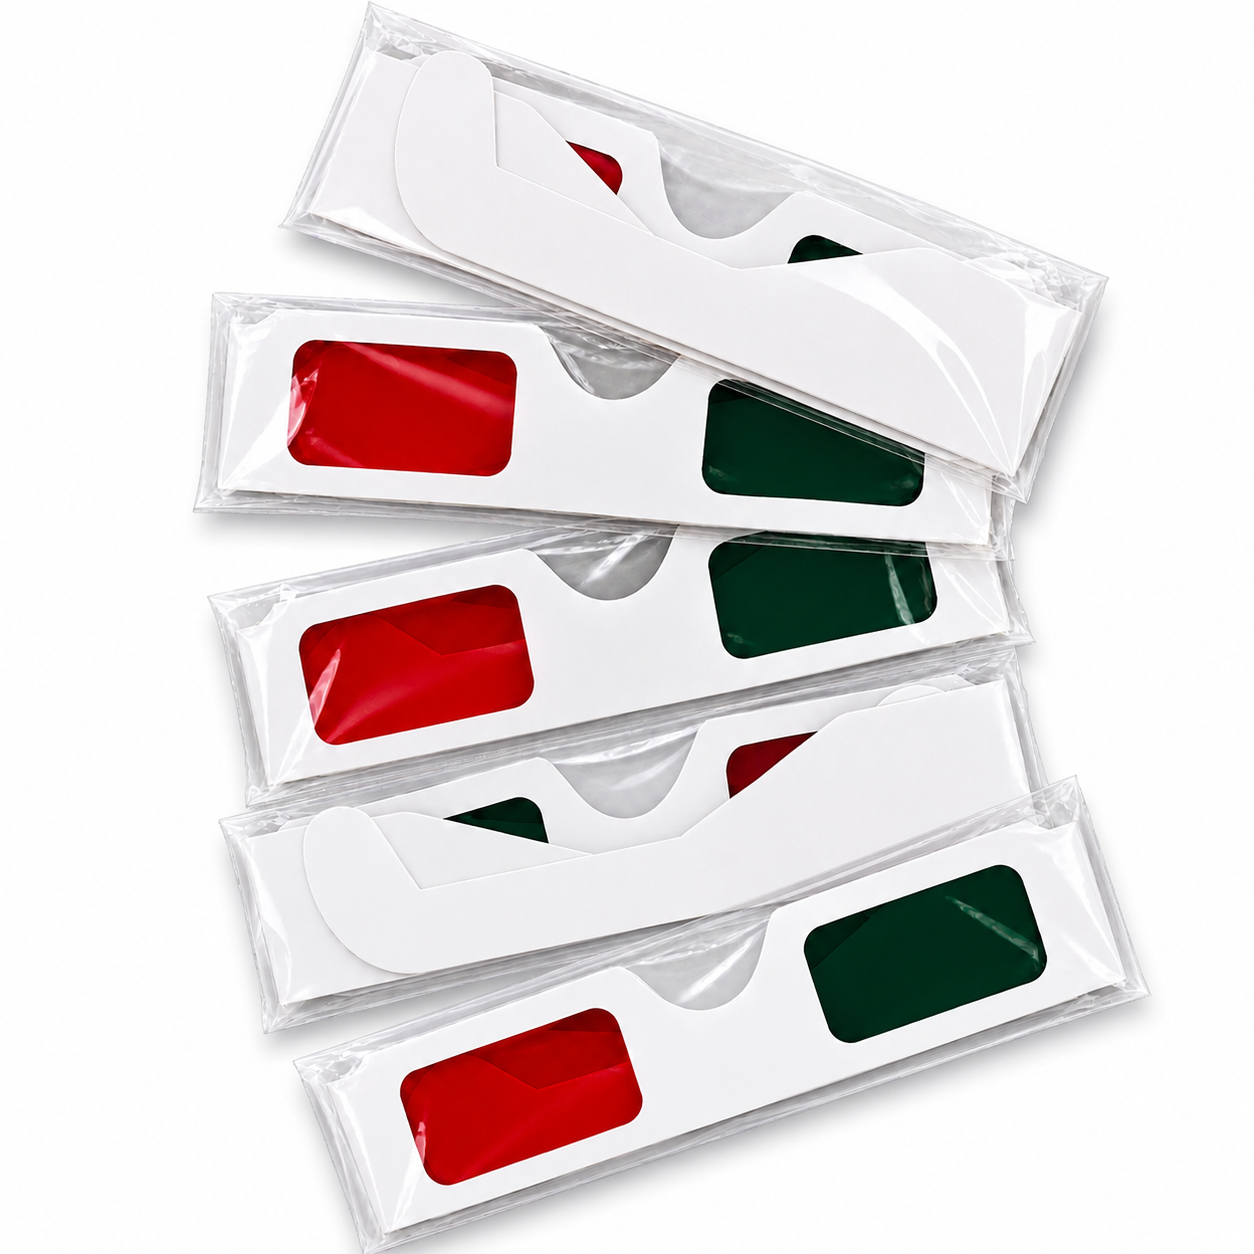
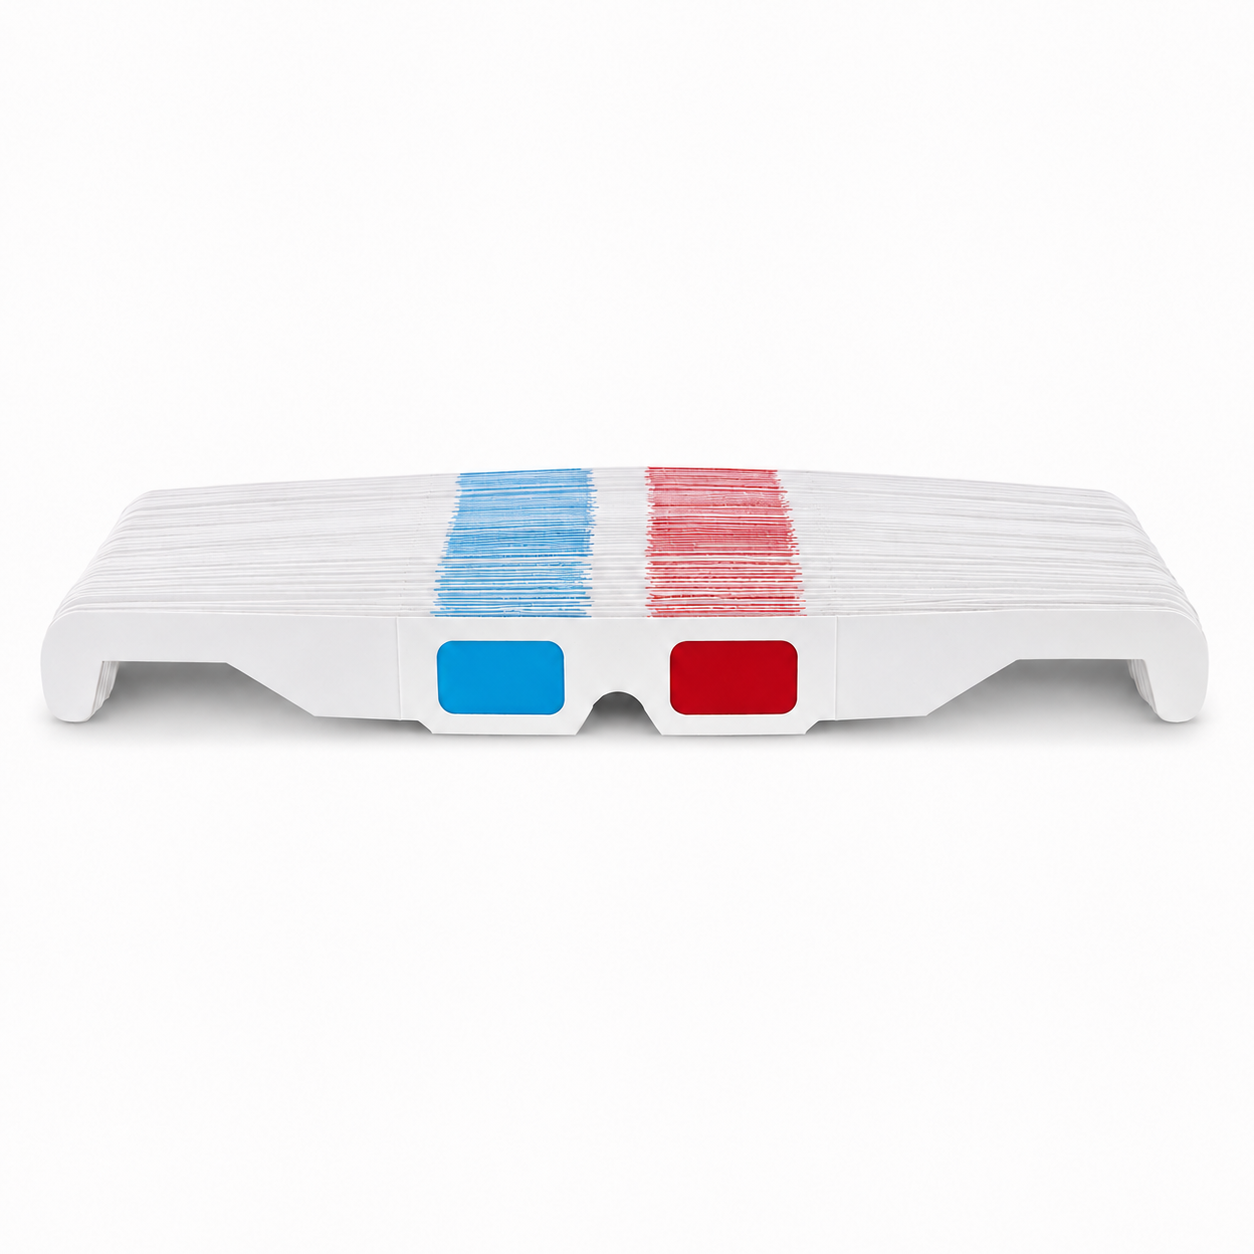
Cut a frame resembling simple glasses out of cardboard. The openings should allow you to look freely through the colored films. Attach the red filter over one opening and the cyan filter over the other.
The orientation of the filters matters: the red filter should be in front of the left eye, while the cyan filter should be in front of the right. These are the sides of the person wearing the glasses, not those of an observer looking at them from the front.
Before taking photographs, it is worth checking each filter separately. You can look through it at red and cyan samples or at a colored drawing. This is not yet a stereoscopy test, but it allows you to see whether the materials used actually alter the visibility of particular colors. Transparent decorative film does not always behave in the same way as a filter matched to the image, so the result should be assessed in practice.
Fact: red on the left and cyan on the right is the standard arrangement used in the method described here. Practical interpretation: if the finished image is not separated correctly, first check whether the glasses are being worn the wrong way around.
Step 2: Capture a stereo pair with one camera
A stereo pair consists of two images of the same scene taken from slightly different viewpoints. It can be captured with one camera by taking two consecutive photographs after moving the device sideways. This method is sometimes called sequential photography: the two perspectives are not created simultaneously, but one after the other.
Choose a stationary scene
Because time passes between exposures, it is easiest to work with objects that do not move. Movement within the frame may cause the second photograph to differ from the first not only in viewpoint, but also in the position of the photographed object. The resulting pair will then no longer be a simple record of two perspectives of the same moment.
A good subject for a first attempt is a stationary arrangement containing elements located at different distances from the camera. However, there is no need to build an elaborate set. The aim of the exercise is to learn the process, not to achieve a complex effect straight away.
Take the left and right shots
- Position the camera and take the first photograph, which will be the left image.
- Move the camera horizontally sideways without deliberately changing the composition beyond what results from the shift.
- Take the second photograph, which will be used as the right image.
- Save both files in a way that allows their order to be identified without error.
The source package confirms the principle of a lateral shift, but does not specify a single universal value for it. A specific distance should therefore not be presented as a rule suitable for every scene. For a home experiment, it is more sensible to make several pairs with different shifts and compare how they appear after being combined.
It is also important to preserve the order of the shots. Later in the process, the red channel will be taken from the left image, while the green and blue channels will be taken from the right. Mixing up the files changes the relationship between the information intended for the two eyes.
Step 3: Align the photographs
Before combining the channels, place both shots as separate layers in one document. Compare the positions of the same stationary details. If the photographs are also vertically offset or one has been rotated differently, color separation alone will not correct the geometry of the pair.
Alignment involves matching the layers so that corresponding points do not show accidental differences caused by the way the camera was held. The desired difference in perspective remains part of the stereo pair; not all discrepancies should be removed, because they carry the spatial information. They must be distinguished from errors such as a vertical shift of the entire frame.
This stage requires visual assessment. If details are difficult to fuse when wearing the glasses, it is worth returning to the layers and checking their relative alignment again rather than immediately changing the colors.
Step 4: Combine the RGB channels
The simplest red–cyan anaglyph is created according to a clear rule:
- the red channel of the resulting image comes from the left photograph,
- the green channel of the resulting image comes from the right photograph,
- the blue channel of the resulting image also comes from the right photograph.
In short, this can be written as R from the left perspective and G and B from the right. Command names vary depending on the program used, but the objective remains the same: to create a single RGB file whose three channels come from two previously aligned photographs.
After combining the image, put on the glasses. The red filter in front of the left eye works with the information placed in the red channel, while the cyan filter in front of the right eye works with the green and blue channels. The filters are intended to separate the superimposed perspectives so that each eye receives a different part of the stereo pair.
Why does a simple anaglyph not always look good?
Combining the channels of photographs is an excellent way to learn the basics, but it has limitations. It does not take into account the precise characteristics of the films used or the way the screen displays colors. Problems may also result from the photographed scene.
Color rivalry
Simple channel separation may cause color rivalry. This phenomenon occurs when each eye receives very different color information. Materials concerning this method cite a cyan object as a characteristic example.
In practice, part of the image may be strongly visible to one eye and much less visible to the other. The brain must then reconcile not only the difference in perspective, but also a clear difference in the appearance of the same object. This is not an error in the geometry of the stereo pair, so merely shifting the layers may not eliminate it.
Ghosting, or incomplete separation
If, after closing one eye, a clear trace of the perspective intended for the other eye remains visible, the images have not been fully separated; this is known as ghosting. During diagnosis, it is worth viewing the image first with only the left eye and then with only the right. This test makes it easier to distinguish a filtration problem from incorrect alignment of the two photographs.
Homemade films, display colors, and the way the anaglyph was created form a single system. A satisfactory result on one screen and with one pair of glasses may not look identical if any of these elements are changed. This is a limitation worth keeping in mind when assessing your first attempts.
Movement between shots
If an object changed position between exposures, its two images do not represent only the left and right viewpoints. This type of difference cannot be corrected automatically through simple channel combination. When learning, the most reliable solution is to retake the photographs with a stationary scene.
The simple channel method versus the Dubois algorithm
The method described above, combining R from the left photograph with G and B from the right, is a basic technique. It helps you understand how an anaglyph is constructed and can be performed in an editor that provides access to RGB channels. However, it should not be equated with more advanced optimization.
The Dubois least-squares method takes into account the properties of the glasses’ filters and the colors of the display. Its purpose is to optimize the anaglyph for a specific stereo pair and a given presentation system. This means transforming the information more deliberately than by mechanically assigning one channel from the left image and two from the right.
For a beginner, the best sequence of work is clear: first, create the stereo pair correctly, align it, and combine it using the basic method. Only once the image geometry works can the result be compared with an anaglyph processed using an algorithm that takes the filters and screen into account. Advanced calculations will not correct movement in the scene or a reversed order of the photographs.
See for yourself: a short diagnostic experiment
- Make cardboard glasses with a red filter on the left and a cyan filter on the right.
- Photograph a stationary arrangement from two consecutive, laterally offset positions.
- Align the photographs as layers.
- Build the resulting image: the red channel from the left shot, and the green and blue channels from the right.
- View the result with both eyes, and then with each eye separately.
- If you see a trace of the wrong perspective, check the filters and image separation. If corresponding details are vertically offset, return to the alignment stage. If the problem concerns a moving element, retake the photographs.
This experiment demonstrates not only the spatial effect, but also the relationship between capture, geometry, and color separation. An anaglyph is not simply a photograph with a red–cyan outline. It is a way of encoding two perspectives in a single image, and the glasses are part of the entire system.
Summary
Making a red–cyan anaglyph yourself requires correct filter placement, a stationary stereo pair, careful alignment of the shots, and correct assignment of the RGB channels. The red channel comes from the left image, while the green and blue channels come from the right. This is sufficient for a first practical experiment.
If the result has flaws, they should be analyzed stage by stage. Movement indicates a limitation of sequential photography, vertical discrepancies indicate an alignment problem, and color rivalry and ghosting indicate the limitations of simple color separation. More advanced methods, such as Dubois optimization, can better account for the filters and display characteristics, but the starting point remains a correctly created stereo pair.