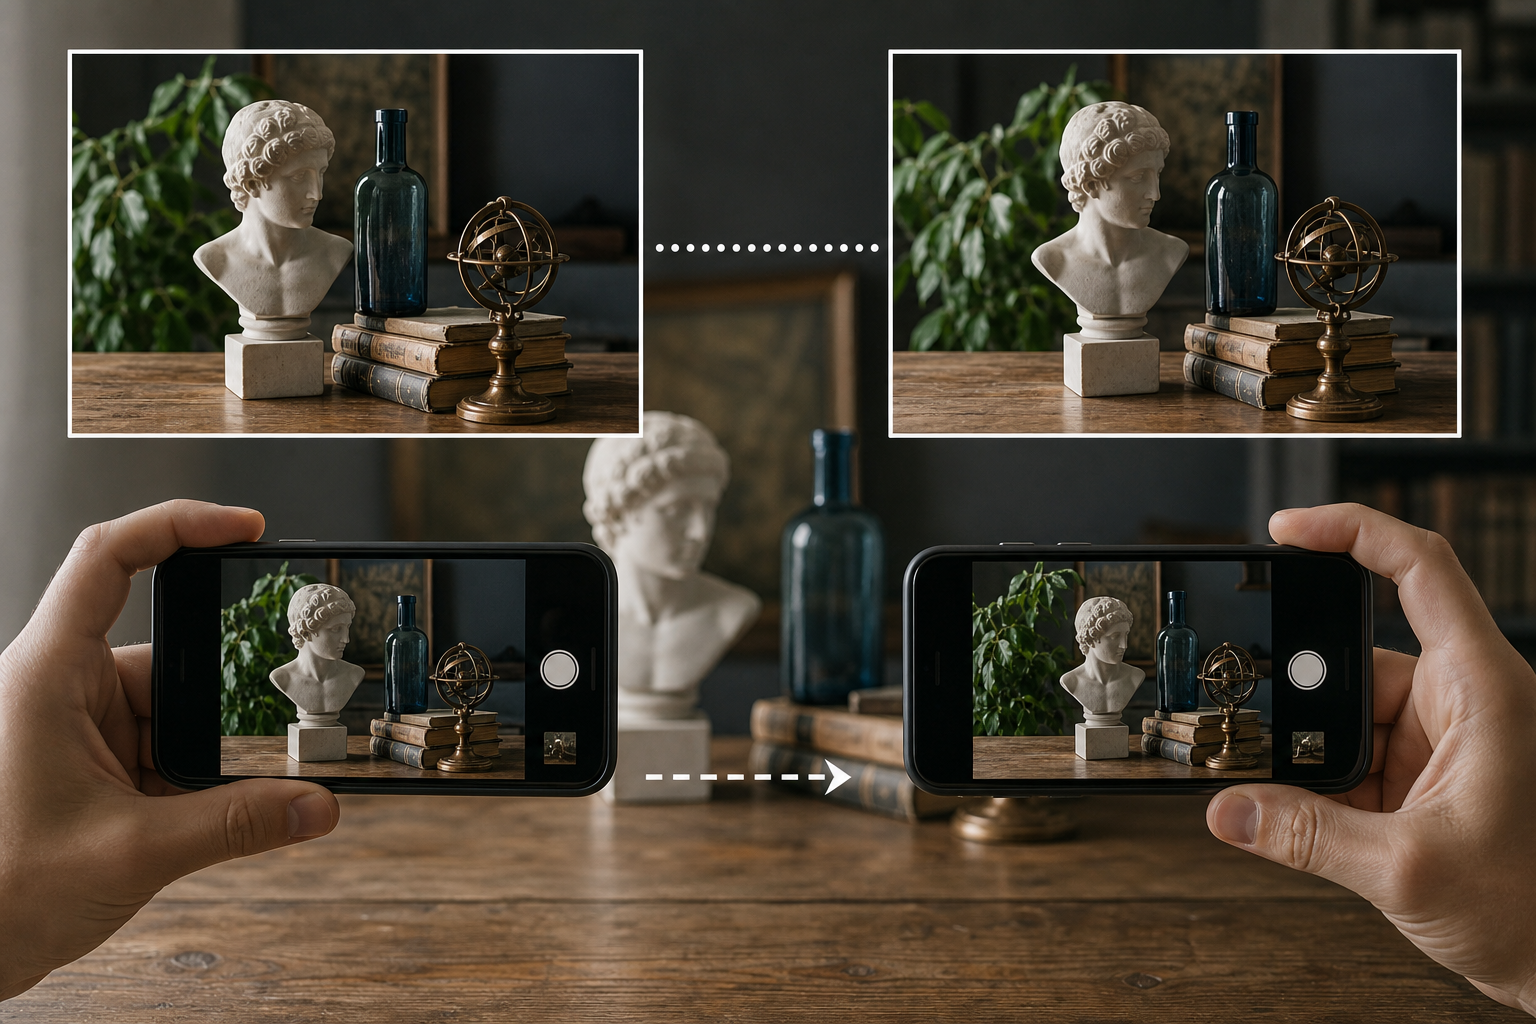
The simplest stereoscopy experiment can be carried out without a special camera, additional lenses, or an elaborate setup. All you need is a smartphone and a static subject. Take the first photo from one position, then move the phone slightly sideways and capture a second frame. This produces two views of the same scene from different observation points.
This is not a conversion of a single photograph into pseudo-3D. Each image contains a perspective genuinely captured from a different position. When properly arranged, aligned, and displayed, the photos form a stereo pair that can be viewed using, among other methods, parallel viewing, cross-eyed viewing, or after being converted into an anaglyph. A wigglegram can also be created from the same two frames.
How does the two-consecutive-photo method work?
Classic stereoscopic photography requires two images showing a scene from slightly different horizontal positions. In the simplest version, one camera replaces a two-camera setup: it first captures the left view and, after being shifted sideways, the right view.
The distance between the positions from which the photos were taken is called the stereoscopic base. There is no need to calculate it precisely in this first experiment. It is more important to understand the principle: you are not taking two identical photographs, but two shots from separate viewpoints.
This method is sometimes described as sequential because the photos are taken one after the other. Its most important limitation is the time between the two exposures. If the position of the photographed object, leaves, people, or other parts of the scene changes during that time, the left and right images will no longer match. Such a discrepancy may be distracting when viewing the pair or make it impossible to combine the views comfortably.
See for yourself: the simplest stereo pair step by step
1. Choose a static subject
To begin, choose a scene that will not change between the photos. A stationary arrangement of objects, part of an interior, or a quiet outdoor scene without moving people will be suitable. It is helpful if the elements are at different distances from the phone. This will make it easier to notice the differences between the two views.
Avoid moving objects during your first attempt. Sequential photography does not capture both perspectives simultaneously, so even a correct shift of the smartphone will not compensate for changes that occurred within the scene itself.
2. Take the first photo
Hold the smartphone horizontally or vertically—the most important thing is to maintain the same orientation for both shots. Compose the frame and take the first photograph. Remember the phone's position and the direction in which it is pointing.
It is worth proceeding calmly at this stage. The fewer accidental changes to the framing between exposures, the easier it will be to align the pair later. The aim is not to take two copies of the same photo, but to make a controlled change in viewpoint.
3. Move the smartphone horizontally
Move the phone slightly sideways, trying not to change its orientation any more than necessary. Then take the second photo. This movement creates the stereoscopic base and causes the objects to be captured from a different perspective.
The provided materials do not specify a single shift value suitable for every scene, so an arbitrary number should not be treated as a universal formula. The goal of the first experiment is to obtain frames that are clearly different but still similar. Selecting the base according to the scale and distance of the subject can be explored in later, more controlled tests.
4. Check whether the shots match
Compare the two photos. They should show the same scene, but small shifts in the relative positions of objects are expected—they result from the change in viewpoint. Differences caused by movement within the scene, such as an object appearing in only one photo or a clear change in its position, are a problem.
If the second frame was taken at a completely different angle or covers a significantly different part of the scene, you can still try to align it. In practice, however, it may be easier to retake the photos with a more controlled movement of the phone.
5. Align and arrange the photos
The two files should then be aligned, cropped appropriately, and placed next to each other as a side-by-side image. Specialist mobile tutorials describe this workflow as the basic way to turn two photographs into a finished stereo pair.
Alignment is intended to reduce accidental differences caused by how the phone was moved, while cropping removes edges that, after correction, do not appear in both views. However, you should not try to eliminate all perspective differences. They are the essential content of the stereo pair, not an error that needs to be removed.
Parallel or cross-eyed viewing?
The finished pair can be prepared for free viewing without additional devices. The two most commonly mentioned options are parallel and cross-eyed viewing. They differ in the order of the images.
A pair intended for cross-eyed viewing requires the image order to be reversed relative to a pair prepared for parallel viewing. If the spatial effect appears inconsistent after combining the photos, or foreground elements behave like background elements, one of the first diagnostic steps should be to swap the left and right sides.
Not everyone can immediately view both variants comfortably. This does not necessarily indicate an error in the photos. For the first attempt, you can prepare two versions of the file with the frames in different orders and test them using the chosen viewing technique.
Other ways to present the same pair
After capturing two perspectives, you do not have to limit yourself to a single format. The same photographs can serve as the basis for several presentation methods:
- parallel pair—two appropriately ordered images placed next to each other;
- cross-eyed pair—an arrangement with the order reversed relative to the parallel version;
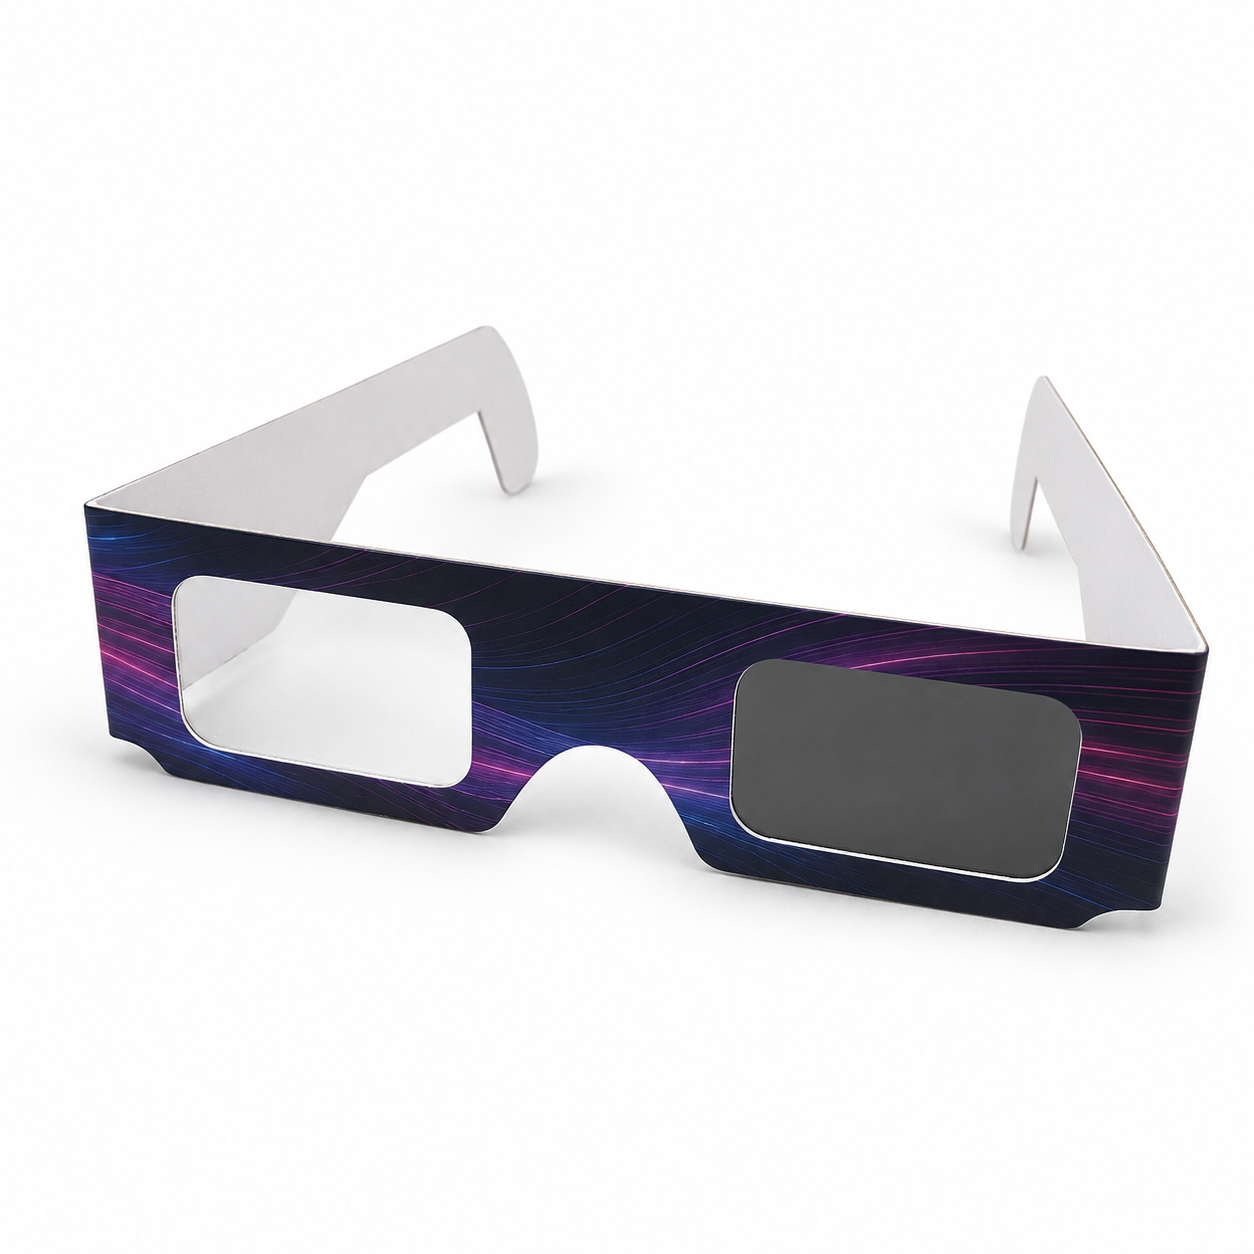
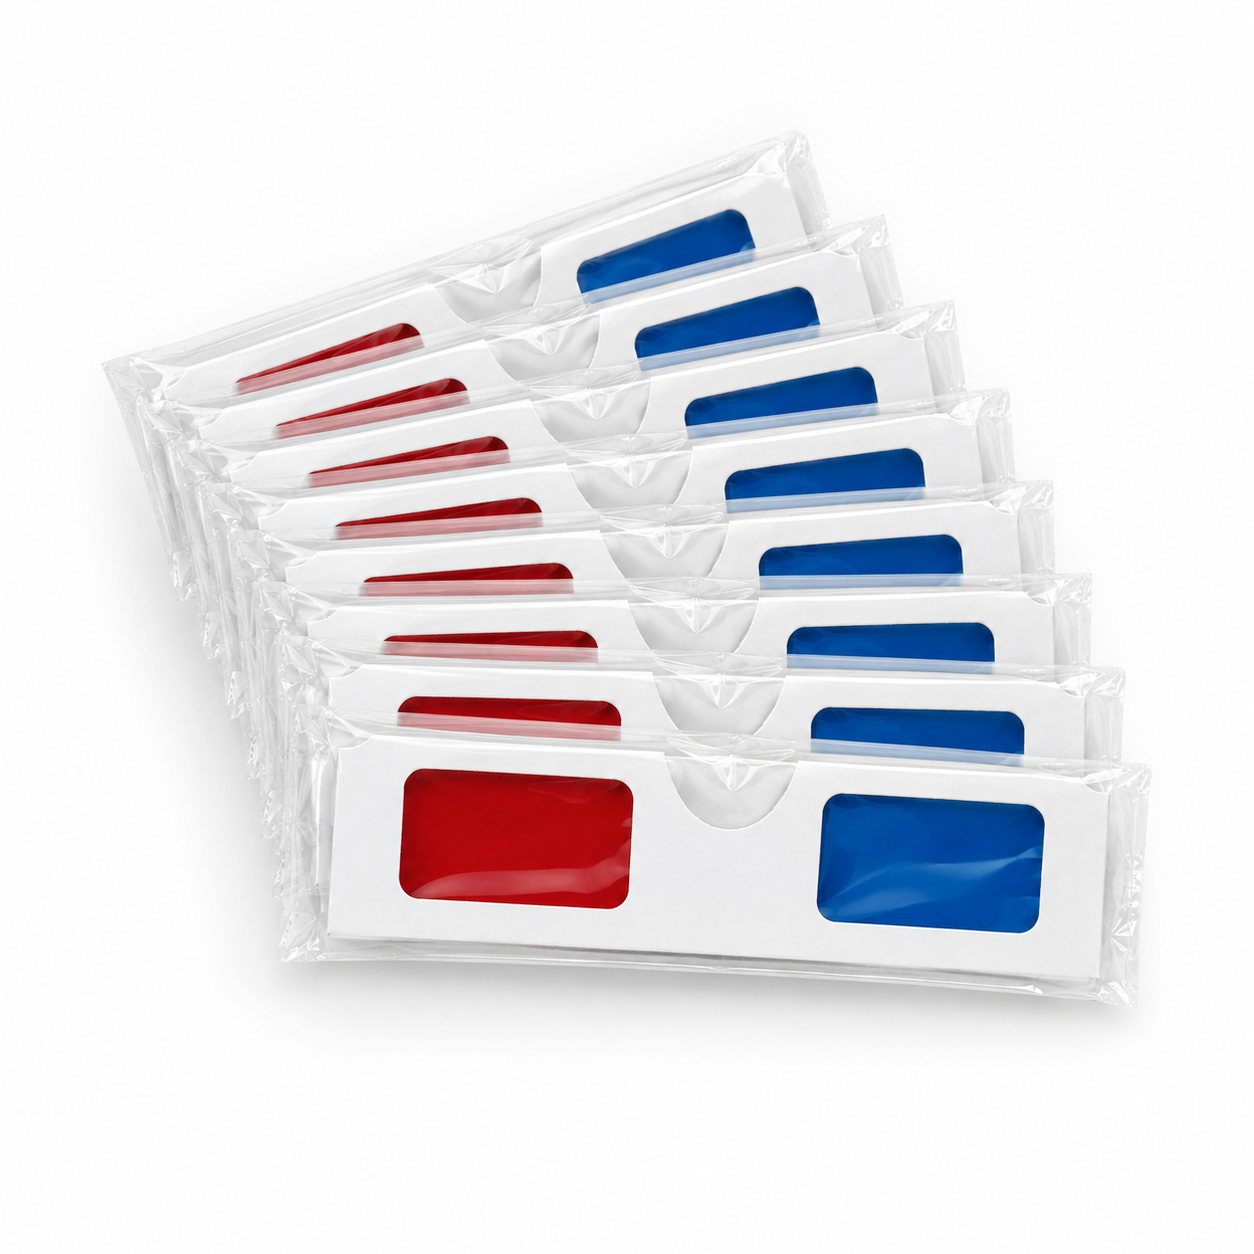
- anaglyph—a combined version intended for viewing with suitable anaglyph glasses;
- wigglegram—a form of presentation using both stereoscopic views.
The choice of format does not change how the source material was created. The foundation remains two separately captured views. You can therefore retain the original files and use them to prepare different versions without photographing the scene again.
Manual assembly or an automated app?
A stereo pair can be assembled in a tool that allows you to place two images next to each other, correct their relative positions, and crop the common area. Working manually provides direct insight into what happens to the left and right frames. For a beginner, it is also a good way to understand why individual objects do not overlap perfectly after the phone is shifted.
Apps that automate part of the process are also available. One example is Scopi, whose developer states that it offers automatic alignment and intelligent cropping, as well as presentation or export as a parallel pair, cross-eyed pair, anaglyph, and wigglegram. The service is described as a tool for capturing, processing, and viewing stereoscopic images on a device; mobile apps and a web editor are said to be available.
This information describes features stated by the tool's developer, not a comparison of its effectiveness with other solutions. Regardless of which app you choose, it is worth retaining both original photos. This allows you to repeat the alignment, change the order of the views, or prepare a different presentation format.
The most common causes of an unsuccessful attempt
- Movement in the scene. An object changed position between exposures, so its images do not form a matching pair.
- Accidental change in framing. The phone was not only shifted but also oriented in a noticeably different way, increasing the amount of correction required.
- No common area. After alignment, the photos may require substantial cropping.
- Reversed order. A file prepared for one viewing method is used as though it were a pair intended for the other.
- Removing perspective differences. Trying to align all objects perfectly undermines the purpose of capturing two viewpoints.
What exactly does this experiment demonstrate?
The main conclusion is simple: stereoscopy does not require automatic conversion of a flat photo. It is enough to capture a scene from two different positions and then retain and correctly present both views. Here, the smartphone serves as a single camera used sequentially in two positions.
The method has a clear limitation—it is primarily suitable for static scenes. However, it is a good starting point for learning how to align images, identify the left and right perspectives, and compare different presentation formats. Once you have mastered this experiment, you can move on to selecting the stereoscopic base more deliberately and controlling the geometry of the photos more precisely.
In short: choose a static scene, take a photo, move the smartphone horizontally, take a second frame, align both images, and save them as a stereo pair. It is a small experiment, but it is based on the same fundamental principle as more elaborate stereoscopic photography: two real views of a single subject.